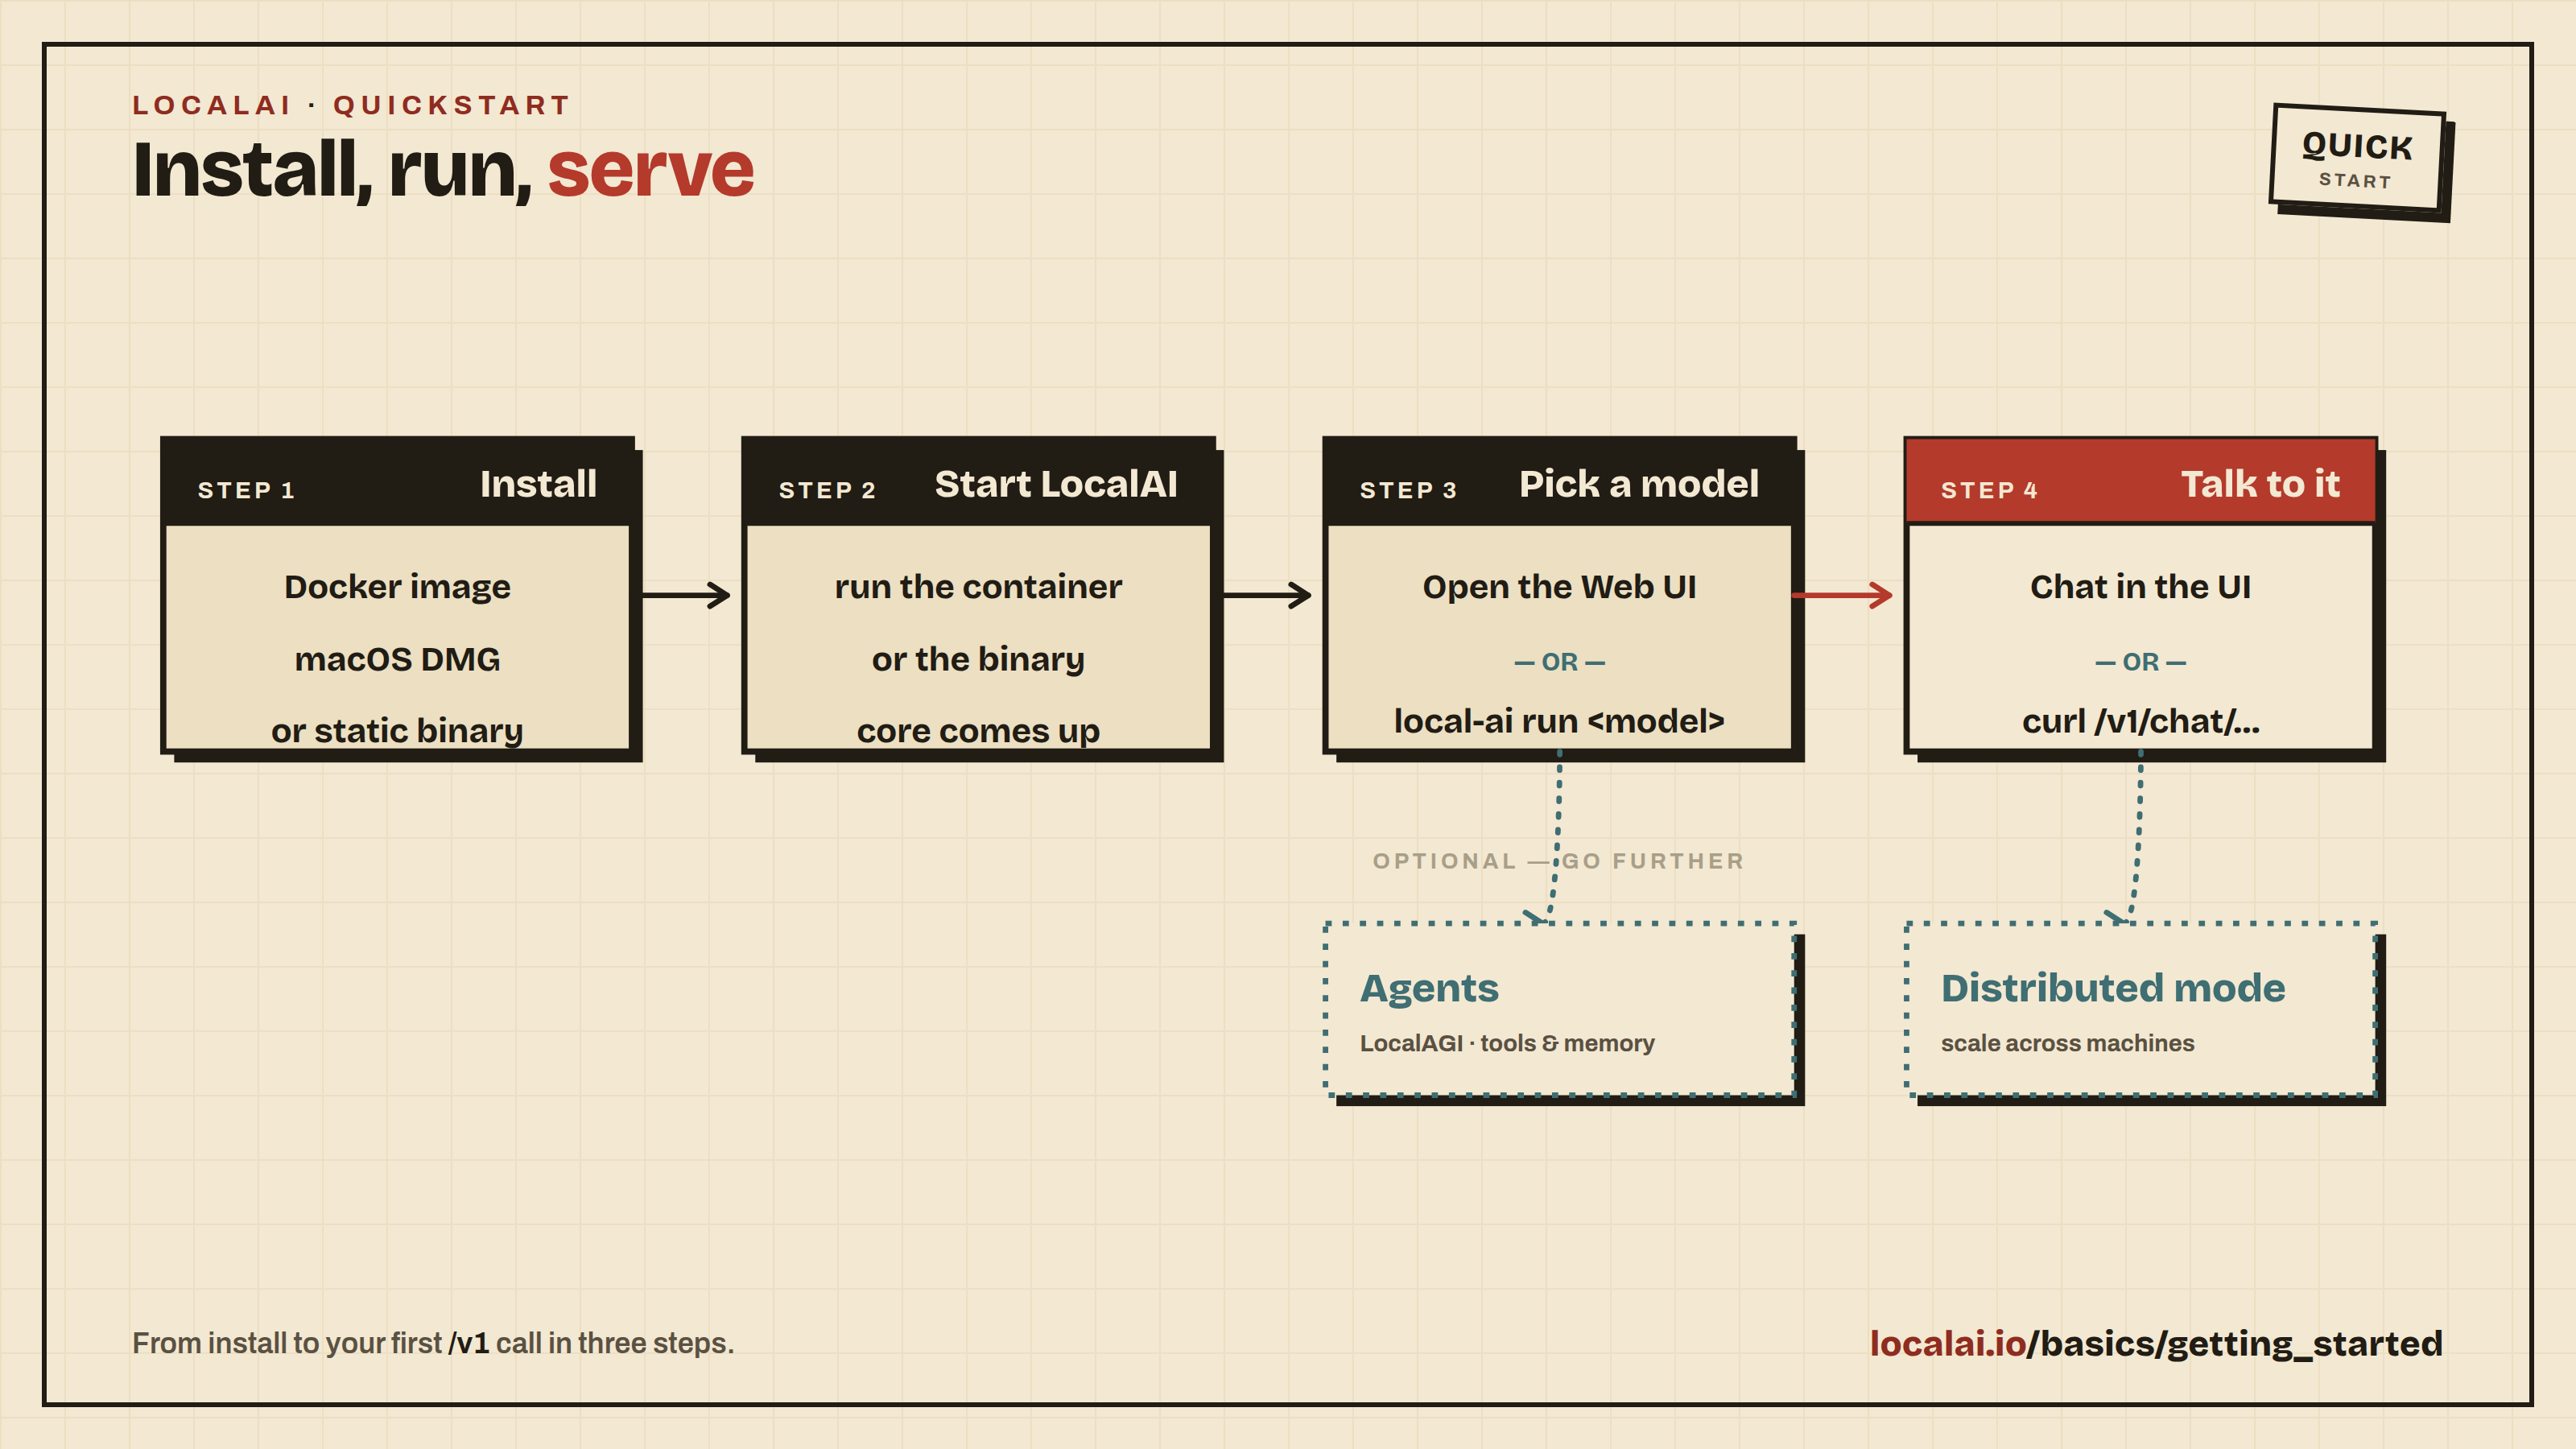
Quickstart
LocalAI is a free, open-source alternative to OpenAI (Anthropic, etc.), functioning as a drop-in replacement REST API for local inferencing. It allows you to run LLMs, generate images, and produce audio, all locally or on-premises with consumer-grade hardware, supporting multiple model families and architectures.
LocalAI comes with a built-in web interface for chatting with models, managing installations, configuring AI agents, and more, with no extra tools needed.
Tip
Security considerations
If you are exposing LocalAI remotely, make sure you protect the API endpoints adequately. You have two options:
- Simple API keys: Run with
LOCALAI_API_KEY=your-keyto gate access. API keys grant full admin access with no role separation. - User authentication: Run with
LOCALAI_AUTH=truefor multi-user support with admin/user roles, OAuth login, per-user API keys, and usage tracking. See Authentication & Authorization for details.
Quickstart
This guide assumes you have already installed LocalAI. If you haven’t installed it yet, see the Installation guide first.
Starting LocalAI
Once installed, start LocalAI. For Docker installations:
For GPU acceleration, choose the image that matches your hardware:
| Hardware | Docker image |
|---|---|
| CPU only | localai/localai:latest |
| NVIDIA CUDA | localai/localai:latest-gpu-nvidia-cuda-12 |
| AMD (ROCm) | localai/localai:latest-gpu-hipblas |
| Intel GPU | localai/localai:latest-gpu-intel |
| Vulkan | localai/localai:latest-gpu-vulkan |
For NVIDIA GPUs, add --gpus all. For AMD/Intel/Vulkan, add the appropriate --device flags. See Container images for the full reference.
Using the Web Interface
Open http://localhost:8080 in your browser. The web interface lets you:
- Chat with any installed model
- Install models from the built-in gallery (Models page)
- Generate images, audio, and more
- Create and manage AI agents with MCP tool support
- Monitor system resources and loaded models
- Configure settings including GPU acceleration
To get your first chat working:
- Open the Models page and search for
qwen3-4b. Click Install on theqwen3-4bentry and wait for the download to finish. (qwen3-4bis a small, CPU-friendly Qwen3 model that also supports tool calling, so you can reuse it later in the Build your first agent walkthrough.) - Open the Chat page, select
qwen3-4bfrom the model dropdown, type a message, and send it. You should get a reply within a few seconds.
Downloading models from the CLI
When starting LocalAI (either via Docker or via CLI) you can specify as argument a list of models to install automatically before starting the API, for example:
You can also manage models with the CLI:
Tip
Automatic Backend Detection: When you install models from the gallery or YAML files, LocalAI automatically detects your system’s GPU capabilities (NVIDIA, AMD, Intel) and downloads the appropriate backend. For advanced configuration options, see GPU Acceleration.
For a full list of options, run LocalAI with --help, or see the Linux Installation guide.
Using the API
LocalAI exposes an OpenAI-compatible API. You can use it with any OpenAI SDK or client by pointing it to http://localhost:8080. For example:
LocalAI also supports the Anthropic Messages API, the Open Responses API, and more. See Try it out for examples of all supported endpoints.
Built-in AI Agents
LocalAI includes a built-in AI agent platform with support for the Model Context Protocol (MCP). You can create agents that use tools, browse the web, execute code, and interact with external services, all from the web interface.
To get started with agents:
- Install a model that supports tool calling (most modern LLMs do)
- Navigate to the Agents page in the web interface
- Create a new agent, configure its tools and system prompt
- Start chatting; the agent will use tools autonomously
No separate installation required: agents are part of LocalAI. For a full step-by-step walkthrough, see Build your first agent.
Scaling with Distributed Mode
For production deployments or when you need more compute, LocalAI supports distributed mode with horizontal scaling:
- Distributed nodes: Add GPU worker nodes that self-register with a frontend coordinator
- P2P federation: Connect multiple LocalAI instances for load-balanced inference
- Model sharding: Split large models across multiple machines
See the Nodes page in the web interface or the Distributed inference docs for setup instructions.
What’s Next?
There is much more to explore! LocalAI supports video generation, voice cloning, embeddings, image understanding, and more. Check out: